I believe that if you love to do something and you pour your heart and soul into it, it will turn out to be wonderful. When I bake, I always keep the person I am baking for in mind so that I can put the most emotion and feeling into each piece.
This time I baked for my work supervisor CT. She has come to mean a great deal to me and I thought that I would be able to express my gratitude toward her and everything she has done for me through a birthday cake.
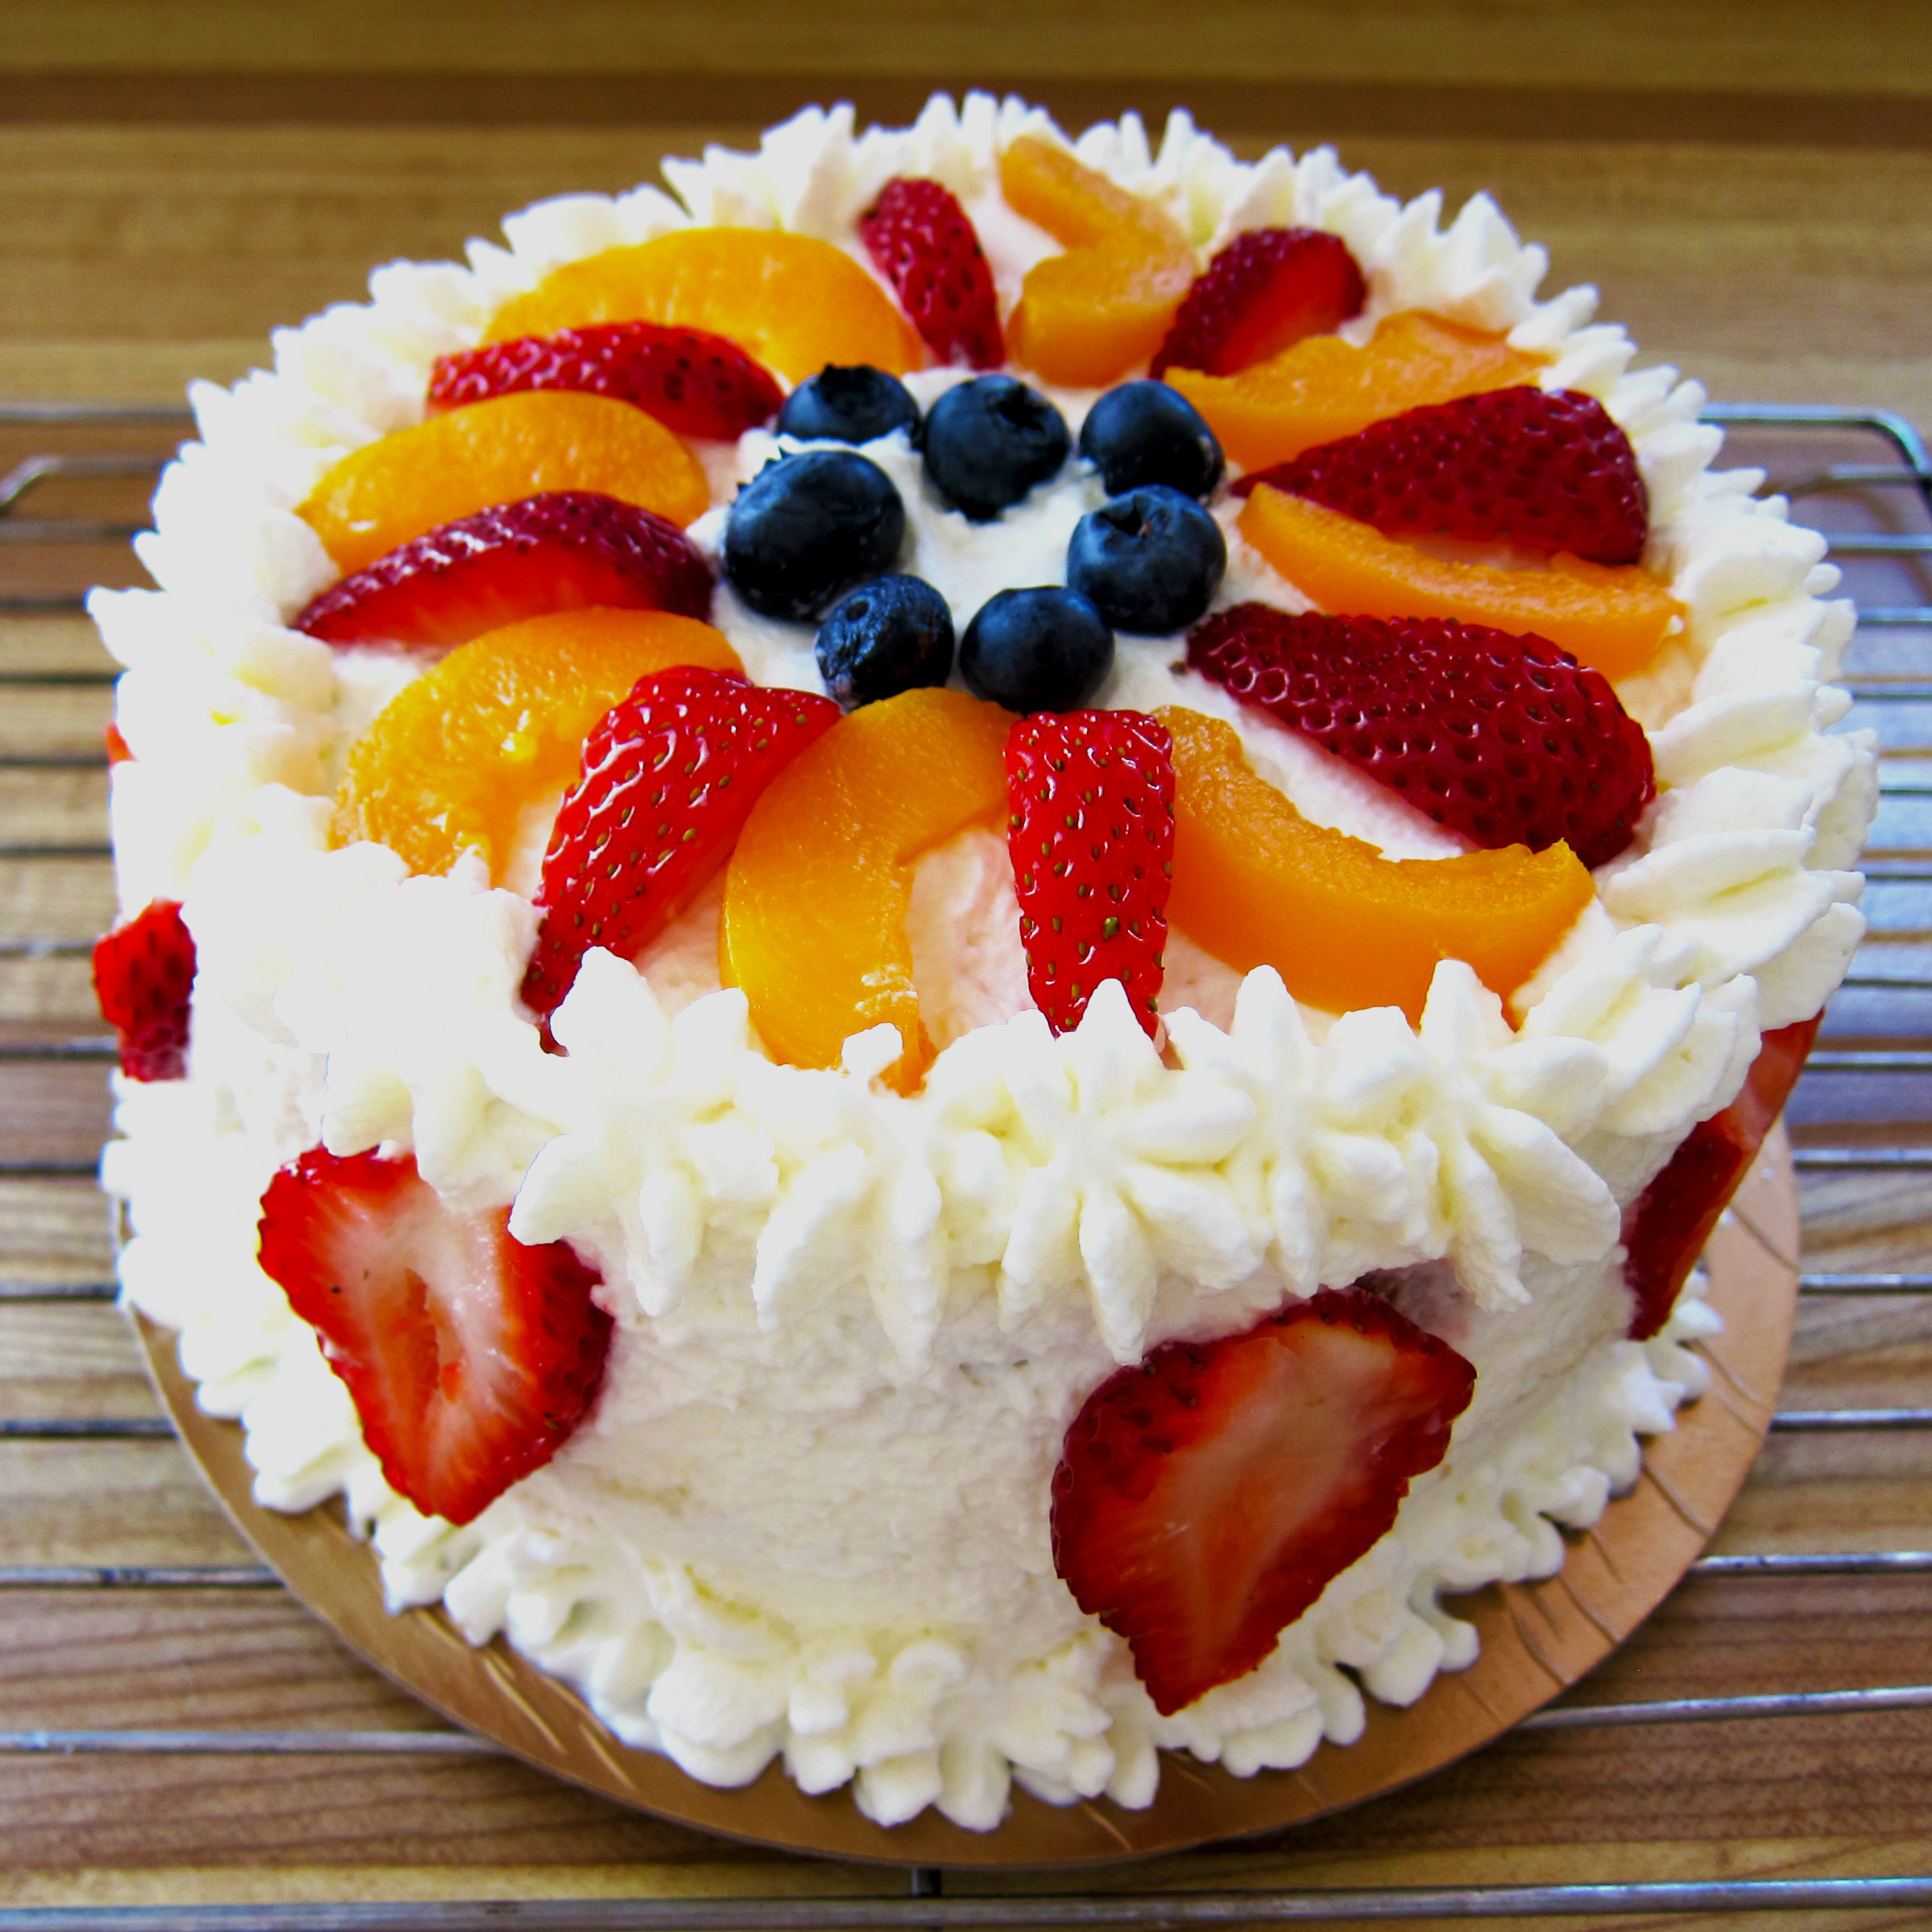
For CT, I decided to make one of those delicious Chinese-style fruit cream cakes. Light layers of moist vanilla cake with cream and and an abundance of fresh fruits. Light, summery and happy, I felt this cake suited CT perfectly.
It was a huge success at work! Everyone told me how much they loved it (though I wouldn’t put it past DD to lie to spare my feelings) but most importantly CT told me it was the nicest gesture anyone has ever done for her. As soon as she said those words, even before eating the cake, I knew I had accomplished my goal: to make her feel loved and remembered.

Chinese Bakery-Style Cake (Majorly adapted from My Edible Memories)
Ingredients
For the Cake
- 160 g all-purpose flour
- ½ tsp baking powder
- 180 g sugar, divided into 2 equal portions
- 6 eggs, separated
- 20 g butter
- 20 g of milk
- ½ tsp vanilla
- 2 Pans (in 21 cm diameter)
For the Custard Filling
- ¼ cup granulated sugar
- ¼ cup of all-purpose flour
- 1/8 tsp salt
- 1 cup of milk
- 1 large egg
- 1 tsp vanilla
For the Stabilized Whipped Cream Frosting
- 1 tsp vanilla
- 2 cups (500 ml) of chilled heavy cream
- 2 tbsp of confectioner’s sugar
For Fruit Filling and Decorating
- Various fruits of different colors and shapes, sliced as desired (I used canned peaches, blueberries, kiwi, and halved strawberries. Honeydew, cantaloupe, mango slices, whole grapes, red grapes etc. would be great, too!)
Directions
To Make the Cake
- Preheat oven to 340 degrees F. Cut out wax paper or parchment paper to the size of the bottoms of two 8″ or 9″ round baking pans. Lightly grease sides of pans and parchment paper.
- Warm eggs to room temperature. Separate 6 egg whites into large stand mixer bowl and 6 egg yolks into a separate large mixing bowl. Be sure to separate carefully because any bit of yolk that gets into the egg whites will make whipping the whites much more difficult.
- Mix first sugar portion (90 g) with the egg yolks and beat until slightly thick and pale yellow. Stir in vanilla to the yolk mixture.
- In large stand mixer bowl, beat egg whites until they are 60% foamy (a little more than halfway to forming stiff peaks). Add the remaining portion of sugar (90 g) in three separate additions while continuing to whip egg whites. Continue until stiff peaks form when the beaters are pulled away from the foam (this is meringue).
- Gently fold in half of the meringue into the egg yolk mixture, folding in carefully to minimize volume loss. Gradually add flour and baking powder and gently mix together. Add melted butter and milk to the batter. Fold in the remaining half of the meringue carefully.
- Divide batter into the two prepared pans. Immediately bake for about 20-25 minutes in preheated oven until tops are a light brown and toothpick inserted into center comes out clean. (Bake shorter in a dark, matte, or non-stick pan, and bake longer in a glass, aluminum, or other shiny pan). It’s important that you bake the two cake layers immediately after the batter is finished, as the meringue will tend to re-liquefy as it sits around, and you’ll get a weird thick layer at the bottom of your cake if you bake it like that.
- Remove cakes from oven and leave in pan to cool to room temperature. If assembling cake later in the day, wrap cooled cake layers in saran wrap until ready to assemble.
For the Custard Filling
- Mix the sugar, flour, and salt in a medium saucepan. Stir in 3/4 cup of milk and mix until smooth.
- Bring mixture to a boil at medium heat, whisking constantly. Be careful not to scrape off any clumps that form on the sides and bottoms as it will leave clumps in your custard.
- Cook another 2 minutes and remove from heat. At this point the mixture should have thickened up dramatically.
- Mix together egg with remaining ¼ cup of milk, then combine with the mixture in the saucepan, whisking vigorously to combine. (I added the egg/milk mixture very slowly, a little at a time while stirring vigorously to temper the egg and not cook it). Return to heat and cook until it just starts to boil. There will be a lot of lumps as you first incorporate the egg mixture, but just keep whisking as you heat it up and most of the lumps should disappear.
- Remove from heat and stir in vanilla. Transfer to a bowl and cover with plastic wrap directly touching the surface of the custard to prevent any skin from forming on the custard. If you still have any remaining clumps in the custard now would be a good time to put some more elbow grease into the whisking and if you really can’t get rid of them just scoop them out 🙂
- Chill at least 2 hours in the fridge or overnight if desired.
*** I wasn’t crazy about the initial taste and texture of the custard. I added in 3 or 4 teaspoons of vanilla yogurt and folded in about 1/4 cup whipped cream. I then fell in love with the custard! It was perfect.
For the Stabilized Whipped Cream Frosting
- Use stand mixer to beat heavy cream in a large well-chilled stand mixer bowl. Beat cream on low speed until small bubbles form (about 30 seconds). Increase speed to medium and beat until beaters leave a trail in the cream (about 30 seconds). Increase speed to high, moving beaters around bowl. Beat until just before it becomes soft and billowy.
- Slowly add sugar and vanilla at the sides of the bowl while continuing to whip until it is barely stiff. These ingredients will stabilize the whipped cream and prevent it from separating over time.
- Use immediately for frosting or refrigerate for later use.
To Assemble the Finished Cake
- Carefully remove cakes from pans, cutting around edges if necessary. Peel or cut away the skin of the cakes (the brown parts on the surface) using hands or a long serrated knife. If needed, level the surface of cake with a knife to make surface as flat as possible.
- Prepare fresh fruits to be placed between the cake layers. I used strawberries, green grapes, and mango slices. Use whatever you have on hand, just cut it up into small bite-sized pieces and make enough to cover the entire surface between the two cake layers. You can also prep fruit to put on top of the cake as decoration at the same time.
- Make a simple syrup of 2 parts water to 1 part granulated sugar by stirring together in a saucepan and slowly warming it up just until all the sugar dissolves. Squeeze in the juice from half a lemon. Brush each cake with a thin layer of simple syrup on all surfaces. This helps keep the cake moist.
- Lay the first cake layer down onto plate. Spread about half of prepared cooled custard onto the top of the cake layer leaving about ½ ” uncovered around the edge of the cake. Add prepared fruit pieces on top of the custard, covering the entire custard area. Add remaining custard on top of the fruit.
- Place second cake layer on top of fruit filling. Gently press layers together and if needed, wipe away any excess custard that escapes from the sides.
- Frost the cake using the stabilized whipped cream topping and a wide blade or a frosting spatula.
- Be creative about how you want to decorate your cake. I piped out shells along the top and bottom edge of the cake rim. I then garnished with my prepared fruit and wrote in red buttercream frosting.
- For the finishing touch, you can make a nearly clear glaze that can be brushed on top of your fruit to give them a glass-like finish similar to the fruit on top of fruit tarts. Heat 1/4 cup of fruit preserves (any flavor – apricot is pretty popular) with an equal amount of water. Stir until boiling. Reduce by boiling off the water to alter the consistency of your glaze. If needed, press the boiled preserved through a fine sieve to separate out the fruit and seeds. While it is still warm, gently brush it over your fruit and let it dry to achieve that beautiful shiny finish.
- Finally, put your cake into the fridge and chill for a few hours to let the frosting set. It is best served in the same day it was made.
*** I made a 3 layer cake instead of the directed 2 layers. I did custard and fruit between the bottom layer and whipped cream and fruit between the top layer!

that looks so pretty and yummy!
LikeLike
what if i don’t have two cake tins but one deep one? do i double up the time?
LikeLike
Hi Sylvia!
If you have a deep cake pan, I would reduce the temperature to about maybe 325 or so (to prevent the top and sides of the cake from browning too fast), and I would check the center of the cake with a knife or toothpick every extra 15-30 minutes.
LikeLike
Does this taste EXACTLY like the ones you can buy at the chinese bakeries? or does it taste slightly different?
LikeLiked by 1 person